See these garden box plans to make your own Thin, Lightweight CSA Concrete Raised Garden beds! Build the forms and cast your own reinforced high strength concrete panels that join together to make long lasting and durable garden boxes. I’ll make a thinner, stronger lightweight concrete panel for my garden panel from CSA Concrete. These new thinner and lighter garden box plans are detailed in this Part 4 of the series.

See the Youtube Video and download the Plans.
How much concrete does it take to pour each size of panel?
Here’s the approximate square foot volume of each size of these 1.5” thick panels:
24” panel = 0.148 cu ft
36” panel = 0.227 cu ft
48” panel = 0.305 cu ft
Bags of CSA Mortar Mix are sold in various sizes. Here is how much a bag of the Home Depot Rapid Set brand will make:
25lb bag = 0.23 cu ft
55lb bag = 0.5 cu ft
Check the instructions on the bag to see how much it makes.
Background for the Cast Concrete Garden Box Plans Project – PART 4
Hi it’s Kent from MAN about TOOLS and today I’m making new concrete garden box panels that are thinner, lighter, stronger, and faster to cast.
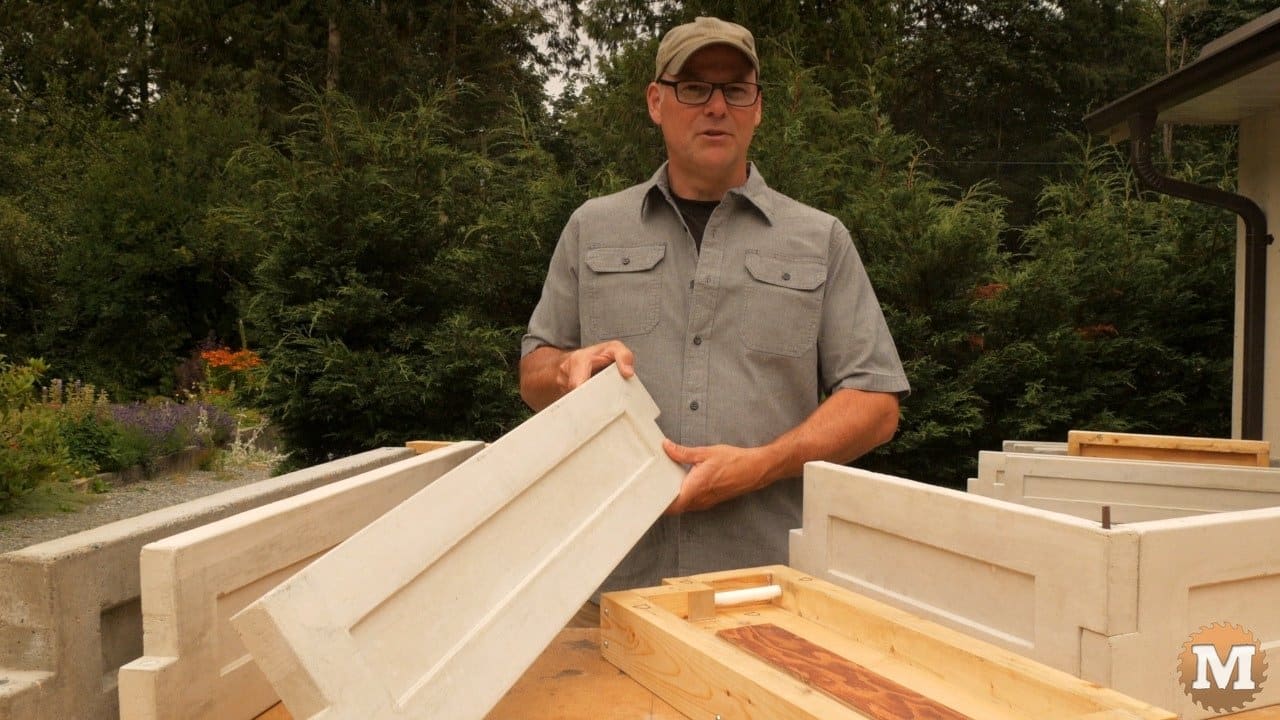
This is Part 4 of my series on making these reinforced concrete garden box panels.
In Part 1 I made the forms from plywood. In Part 2 I simplified the design to make the forms easier to build. In Part 3 I cast the panels with lightweight concrete.
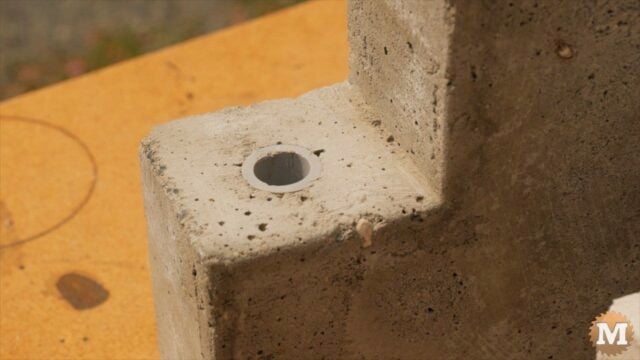
These panels have pipe cast in the corner so they can be joined or pinned together to make long lasting rot proof garden boxes.

In my last episode I looked at making the panels lighter using a few lightweight concrete formulations. The panels I cast were designed for traditional portland-based cement and it has some limitations. The panels needed to be a certain thickness to have enough strength around the pipes.
(Disclaimer: As an Amazon Associate I earn from qualifying purchases. Thank you for helping to support my content this way. )
I started looking for ways to make the panels lighter by altering the concrete but, I think it makes just as much sense to find a way to make them thinner. So just use less concrete. There’s another type of concrete thats based on a different cement called CSA. It’s super high strength and you can cast it much thinner. It sets up very fast and it gets stronger, faster than portland based cement.
And this, I think, is yet another way to make panels lighter.
I still like the basic look and shape of the panels, so I made some modifications to the form design so these thinner panels still link together in the same fashion as the previous ones. I also will be using a smaller diameter pipe in the corners, and that will require a smaller diameter steel rod to join them. Rebar is too thick but there’s some alternatives. And I’ll get to that later.
So here’s the modified design and how I made these new forms.
Thin Garden Box Plans – the BASE
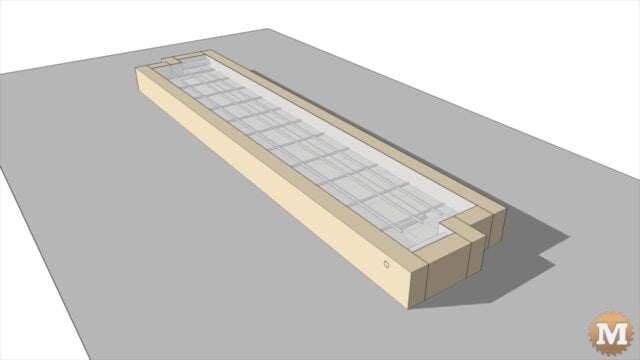
The base is made from a 2×10 with a thin beveled inset, the ends and sides are made from a 2×4. The ends and sides have a peg made from wooden dowel to hold a piece of plastic water pipe in place.
There’s three main parts to the form. The base, two identical ends, and two identical sides. When filled with CSA concrete, a galvanized wire mesh is laid in for additional strength.
I start by cutting a 2×10’s to length, then ripping it to width on my table saw. This one will make a 48″ long panel. I’m making three different lengths of forms time. To cast a 48″, a 36″, and a 24″ panel. The drawings have dimensions for each. This offers some variation depending on the size garden box you want. I cut these to length with a mitre saw. But, a square and circular saw will also work well.
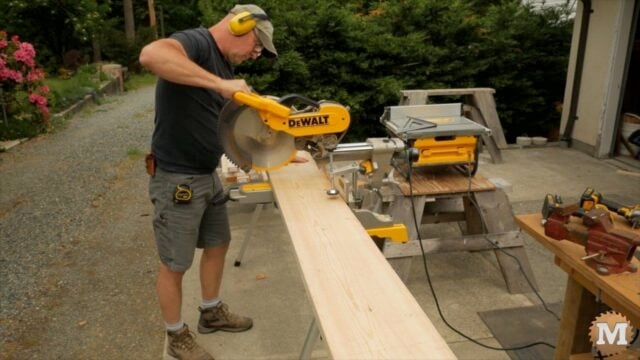
These thinner panel forms are constructed in a very similar manner as the ones I built in Part 2 of this series.
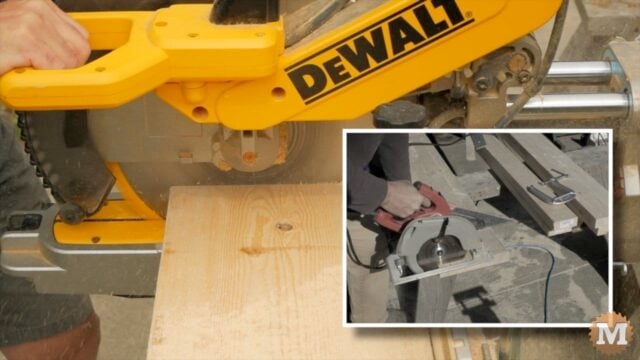
To make these new panels the same width and height as the previous portland cement versions, I rip the 2×10 down to 8″ wide. I use a portable table saw for this. A guide and a circular saw will also work.
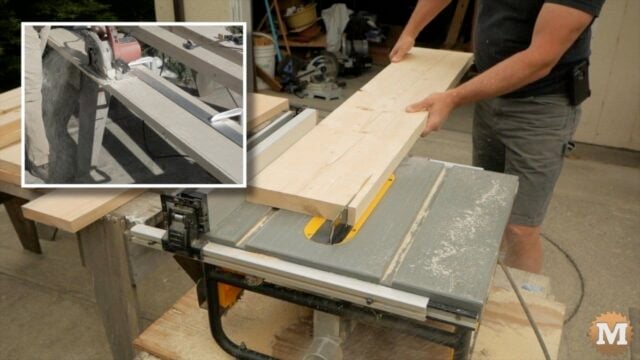
I rip both edges on the table saw to give me a square corner on both sides. Framing lumber comes with a small rounded corner and I want to remove this. (Depending on the tools you have you might decide to rip just the one side down, and that’s okay.)

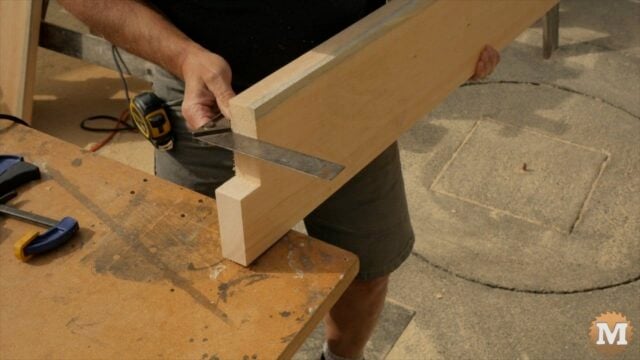
After the base is ripped and trimmed to its final length, I’ll lay out the end cuts and inset location. I’ll remove the corner pieces with a jigsaw. You could use a handsaw, or a bandsaw, for these cuts instead. A jigsaw blade can wander so I check the cut with a square.
Thin Garden Box Plans – the INSET
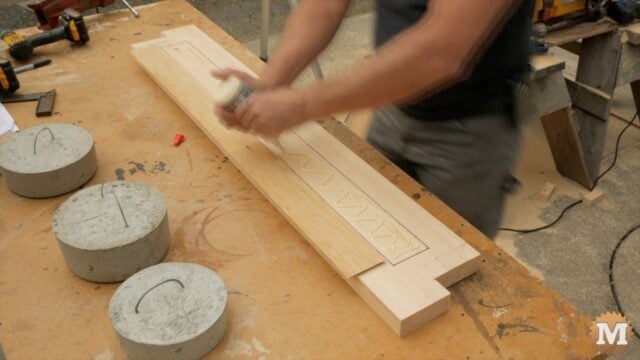
The inset is an angled piece attached to the base mainly for decorative purposes. It’s not functionally required but I like the look. Thin plywood can be used to make this. I rip these at 30 degrees on my table saw and cut to length on the miter saw.
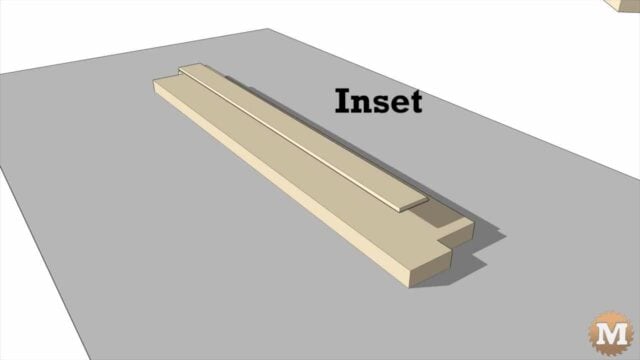
You could personalize your panels here by adding an oval, or circles, or a logo, or anything you want. Just be sure that whatever you use has a bevelled edge so you can remove the panels from the base after casting.

I attach the inset with glue, and weigh it down until the glue dries. If you use short screws instead of glue you can change the inset design in future castings.
