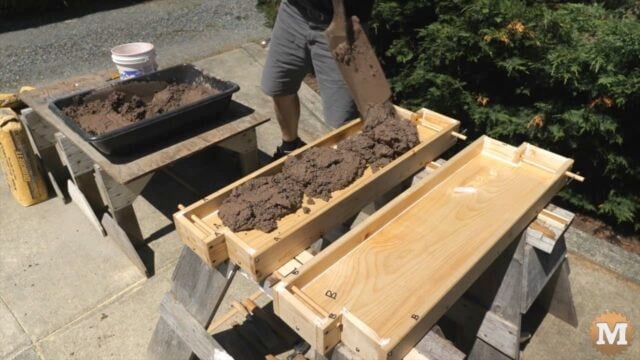
Make your own DIY Concrete Garden Box! Build the forms and cast your own concrete panels that join together to make long lasting and durable garden boxes. This is Part 2 of this mini-series and the 4th version of the forms and panels.
I’ve been thinking about the design of the form for the DIY concrete garden box panels I’ve been casting. I want the forms to be easier, and faster to build, especially for those with little or no woodworking experience or tools. And I also want the casting process to be easier. And I think I got it with this new version of the forms. See Part 1.
See the Youtube Video and download the Plans.
SUPER Simple Concrete Garden Box Project – PART 2

(this is a transcript from the video)
This is part two of my new super simplified garden box form and today we’re going to continue on with the building of the form and casting some panels.
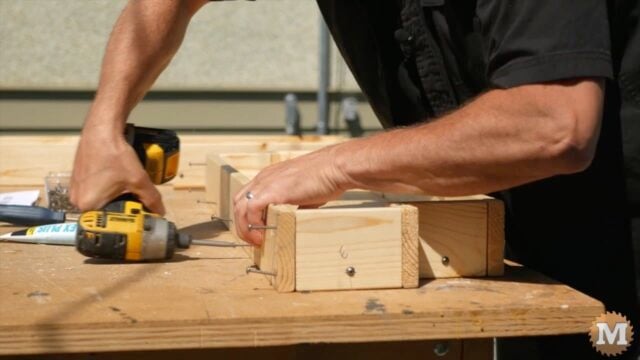
Reassemble the Garden Box FORM
I’ve let the mineral oil soak in overnight and it’s basically dry to the touch. Now so we can reassemble this form and look at our numbering system to remember which piece went where.

Next thing we’re going to do is use some latex caulk to fill any large gaps that we have in any of the corners between the ends and the sides, or the sides and the ends and the base.
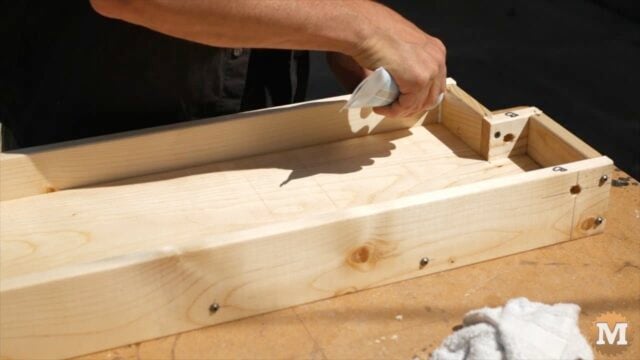
I’m going to use just some latex base acrylic caulk for this — takes about an hour to dry and what I like about this particular product is that it’s not overly strong — it doesn’t hold everything together so much that i can’t get the forms apart again.
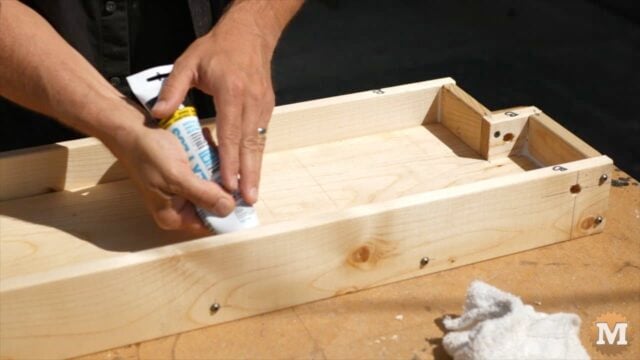
We need a rag a knife just to cut piece off the end. And we’re just going to apply it here i’ve got a bit of a gap here because the width of the board was slightly more than nine and a quarter.
(Disclaimer: As an Amazon Associate I earn from qualifying purchases. Thank you for helping to support my content this way. )
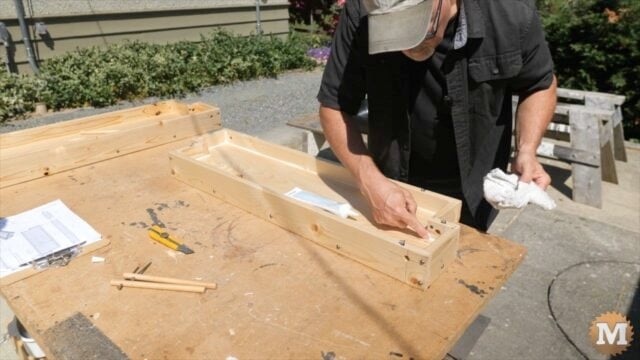
So just lay a little bit of caulking in and then just smooth it with my finger. That’s all it’s required so look around here to see if there’s any other spots where i have a large gap.
You don’t have to be too fussy with this. I would think this is probably all that’s required to hold in the concrete. One thing to consider is that we’ve got a small rounded edge on framing lumber and where the side wall and the base meet. It’s going to leave a bit of a sharp edge so another option here is to caulk all the corners. It only takes a few more minutes so i think that’s a pretty good option. And (if needed) it scrapes right off with a paint scraper afterwards.
This is minimally what you would want to do but, I think I’m going to do caulking on all the inside edges. Like I say it only takes a couple of minutes and you don’t have to be too overly fussy here. You’re not caulking a bathtub or a kitchen counter.
Pour CONCRETE for the Raised Bed Panels
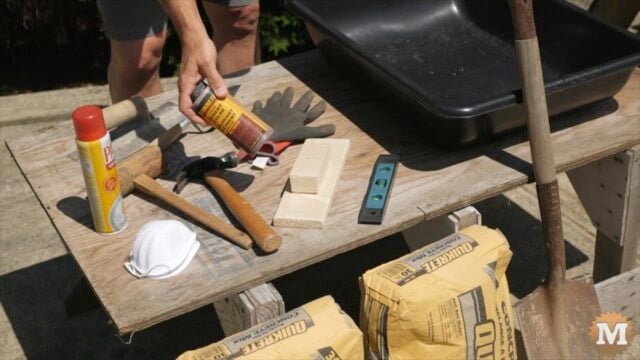
To get ready to pour concrete we need two bags of ready mix, a shovel, in this case we’re going to use mixing bin, or a wheelbarrow works fine, we’re going to use a little level to level out our forms, and we’re going to use some non-stick cooking spray, some safety equipment (gloves and a mask), I’m going to need a hammer or a wooden mallet to tap the form, trowel, or you can make your own float from some leftover wood from the project.
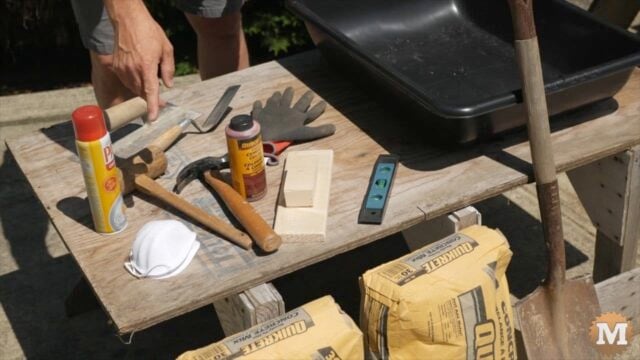
And we’re going to add a little bit of cement color to our mix as well (totally optional).
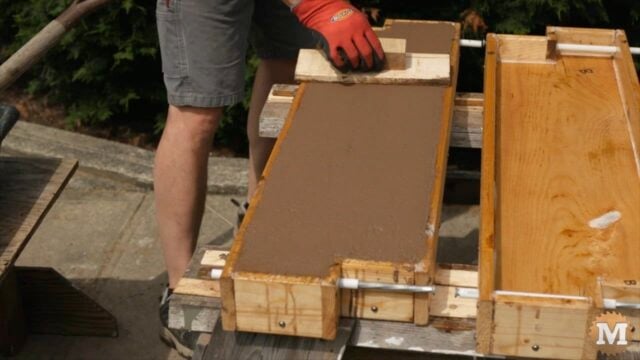
I have our forms sitting over a couple of saw horses. You can put them over a couple of chairs if that works for you. I like saw horses because then you can get under and to tap underneath the form to settle the concrete.
Also we want to level our forms in both directions.
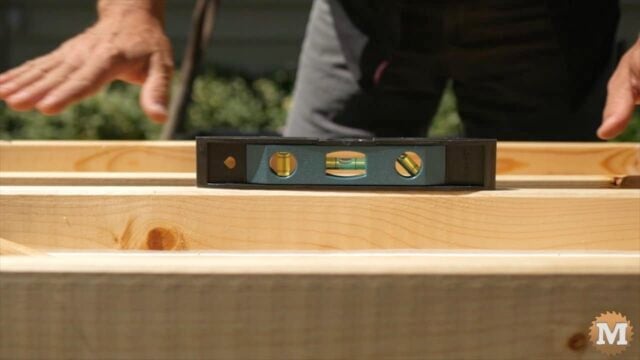
I’ve got it levelled in the long direction as well as check to make sure that we’ve got it levelled side to side as well.

I’ve got some non-stick cooking spray and I’ll give them a good coat with that.
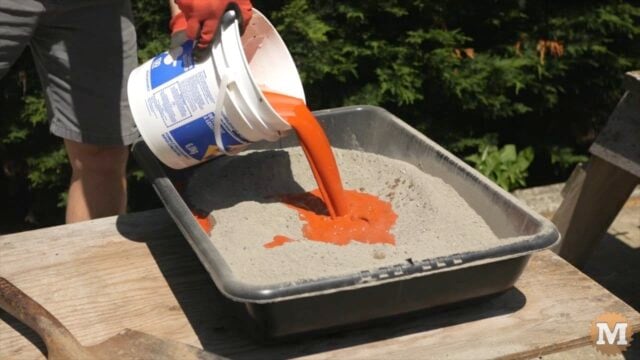
I’ll add some some red cement color to the water(oh boy that’s red!) that was only about an ounce.
Strip FORMS to reveal the castings
I left these covered with plastic overnight. It was pretty warm when I poured the concrete. It’s been about about 18 hours just want to free these up a little bit — they’re sticking in the wood a little bit — that looks kind of stuck — see if this one will come out.
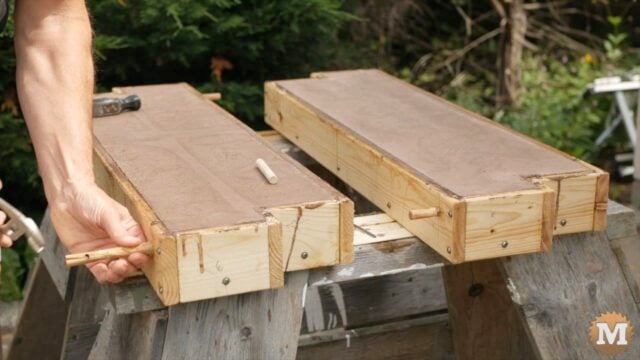
Not quite coming out as freely as i hope they would.
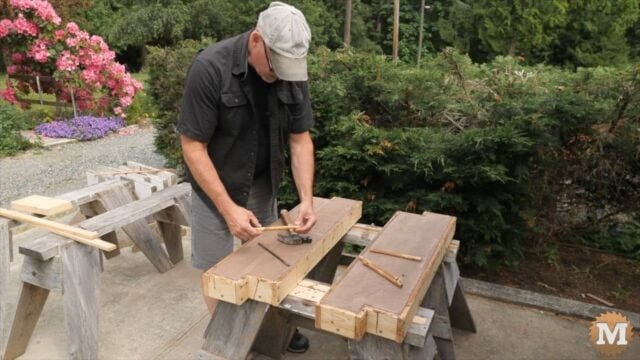
I might have to go back to a different plan for the doweling here — coming a lot rougher here than i had hoped and they swelled a lot more than I kind of expected them to as well.
I was able to get the wooden dowels out but i had to tap them out with this steel rod. What I found is the dowels swelled more than I expected so they ended up being too tight too difficult to remove. And I think a couple of them had swelled so much that they cracked the concrete.
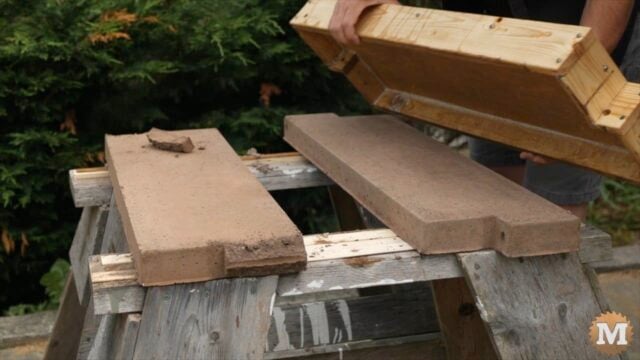
There’s a few cracks around the pipe holes. I would say that sometimes things just don’t work out the way you expect them to.
Modify the Raised Bed Panel FORM
The wooden dowel swelled under the moisture of the wet concrete. That swelling either cracked the concrete or, the amount of force i had to use to remove the wooden dowel cracked the concrete. We’ve got another option: instead of using the wooden dowel we can use a plastic pipe.
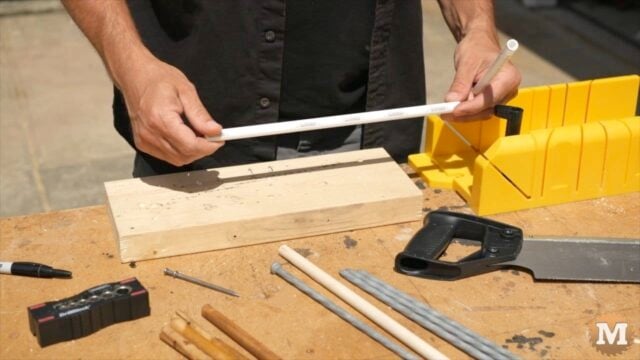
This is 3/8″ water pipe made by SharkBite and it happens to be a half inch diameter on the outside so that’ll work perfectly for what we want to do.
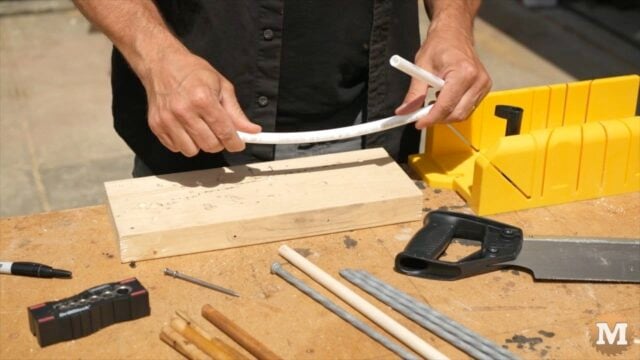
The only thing wrong with this type of pipe is it’s a bit more flexible than the wooden doweling.
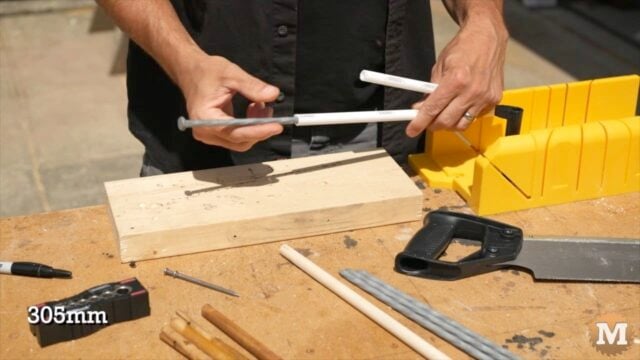
So we’re going to use these 12 inch galvanized framing spikes (that I’ll use later to make assemble the DIY Concrete Garden Box)– and slide them in the pipe. it’ll add some rigidity and we’re going to use these spikes later to pin the corners of the box together to make the garden box.
We just need to cut down to eight inches. I made a mark on my block here so i can mark my my eight inch mark there and then one inch in. Use the miter saw to cut that down and a little bit of sandpaper to make sure there’s no burrs on the edge.
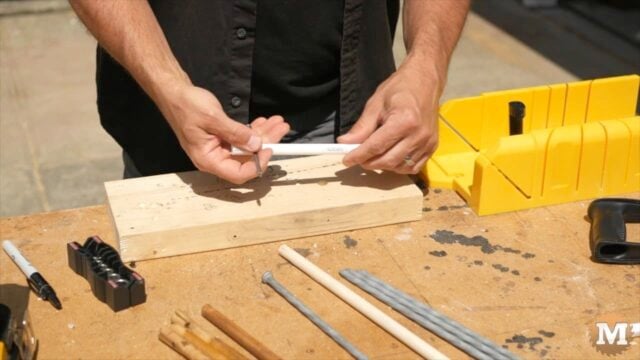
I like having the option of having a small hole in the end in case i wanted to put a nail in there to twist it. I use the 3/16″ bit and my drill block put a small hole in there so i can run a nail in case i need to twist it to remove it.
A couple more of these and we’ll be ready to pour another batch of concrete.
Pour CONCRETE (again) DIY Concrete Garden Box
It’s been about 20 hours since i poured these covered them with plastic overnight.
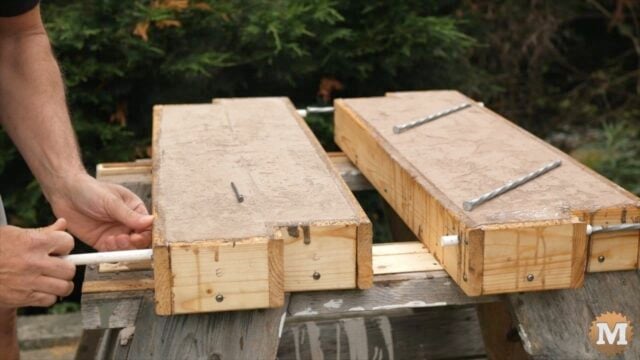
Now we’ll pull out the spikes out of this one and i’ll use my nail here to gently pry this pipe out of this side.
I’ll do the same on the other end all right now.
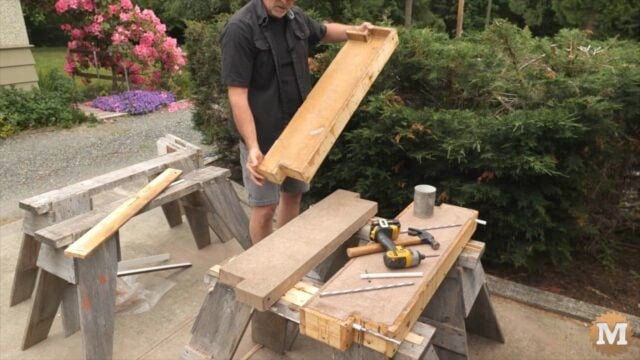
Just gently flip this over and we’ll see if we can free it from the form here might have to tap it a little bit here. It’s a little bit snug so i’m going to take one of the sidewalls off see if that might help it a little bit. That’s the first panel looks good. We’ll set this aside and try the other panel.
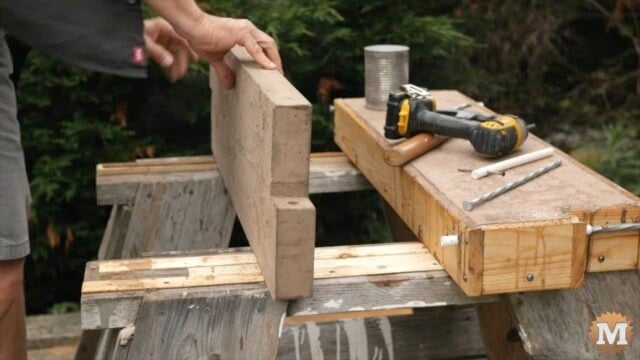
That worked good! It came out very clean — and this other one even easier.
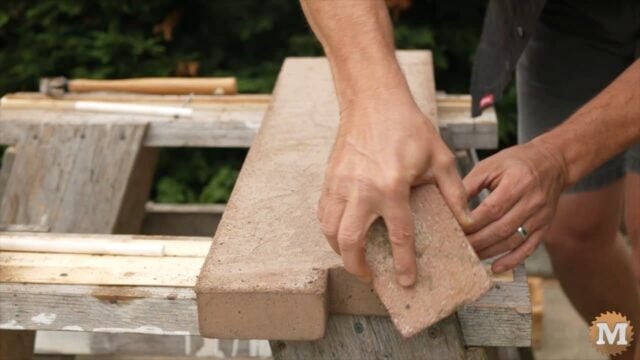
And any of the sharp edges left from the round edge of the framing lumber you can just use a brick and just go real gentle on the edge.
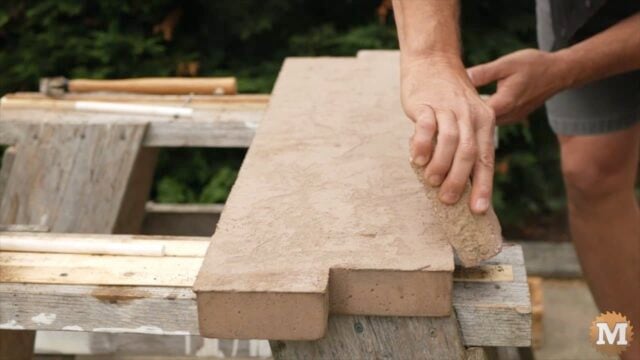
It’s like sandpaper a little bit just to take that sharp edge off while the concrete’s still relatively soft. Just go real easy so we don’t chip a piece off while it’s still setting up, and starting to cure.
Okay we’ll cast a few more.
